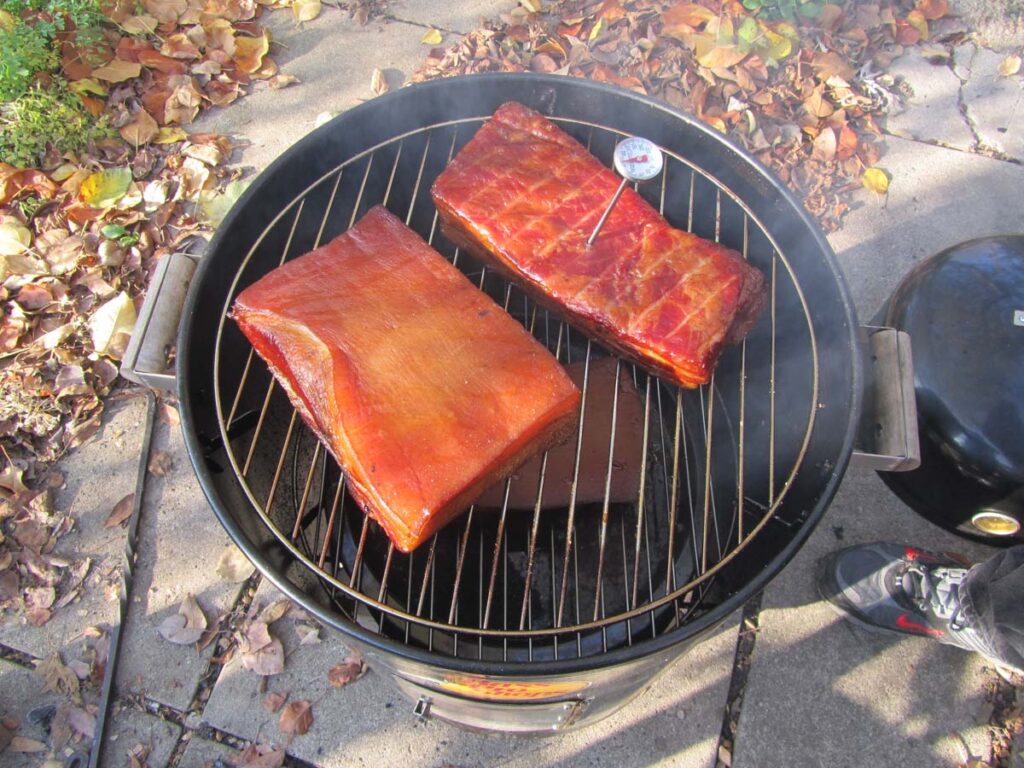

If you are the impatient type, waiting for the brisket to reach the right temperature could be frustrating. If you have already tried your hand at preparing pork shoulder or beef brisket, you will probably already know the dreaded “stall”.
Brisket stall, without going into the technical details, is when the temperature on the meat probe thermometer doesn’t move even one degree for hours. Do not make the mistake of simply raising the temperature to overcome this phase, remember that the goal is to obtain a lump of succulent meat.
There are many theories and stories related to the result of stalling. These range from moisture evaporating from the meat, to slow dissolving of fat or degradation of protein structure. The best advice is not to panic, keep the temperature stable. Sooner or later the temperature of the meat will start to climb slowly.
You can also try to apply the Texan crutch method. In this guide, we’ll explain everything about brisket stall to you and how to get out of the stalemate.
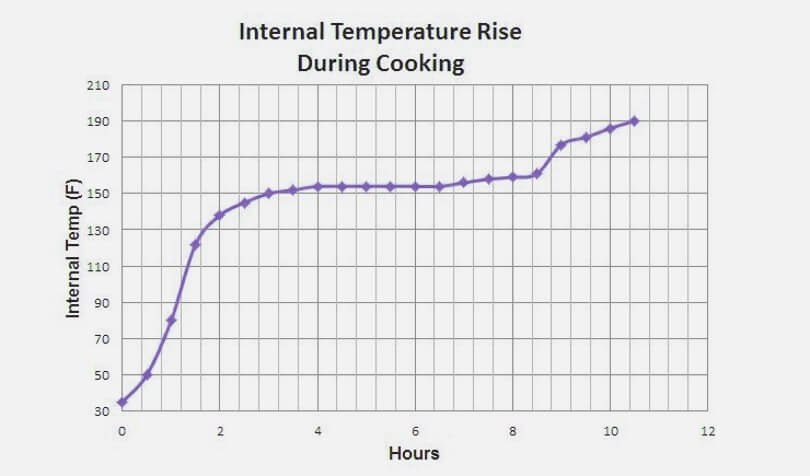
The stall should be exploited for the formation of a solid bark on the surface of the piece of meat, i.e. a crunchy and tasty film generated by the transformation of the rub. Never try to break through the stall before a good bark is formed.
This process is also identified as evaporative cooling. As the internal temperature of the meat increases, the evaporation of surface moisture also increases, which absorbs part of the cooking heat. At a threshold temperature, there will be a balance between the heat absorbed by evaporation and that emitted by the cooking device.
During the process, the meat loses fluids. Once they reach the surface, these evaporate.
This situation affects the juiciness of the brisket, but also the formation of the bark (superficial crust). In fact, the more the surface dehydrates, the more consistent the bark becomes. We can therefore say that stalling has a negative effect on the juiciness of the meat but a positive effect on the formation of the bark.
All pitmasters have found themselves facing a stall at least once before. Thermometers planted remain at the same temperature for hours, hence, increasing the anxiety of the pitmaster and continuous glances at the displays in search of the lost degree.
We don’t know who discovered this first (maybe it was an old man in Texas), but someone related the stall to evaporation. Or rather, we should speak of “evaporative cooling”.
The heat heats the liquids contained in the meat, which at a certain point land on the surface.
At this point the hottest molecules evaporate, leaving only the colder molecules on the surface, which while waiting to accumulate the energy necessary to heat up and evaporate, cool the meat from the surface towards the inside. This effectively stops the temperature from increasing. In some cases, this can decrease.
The temperature of the brisket can remain at the same degrees for several hours. Stalling can occur for up to 6 hours when you’re cooking a lump of large meat such as brisket. However, depending on the meat, the range of stalling is usually two to six hours. Hence, on average, the stalling can last for four hours.
A stalling can occur after placing a piece of large meat such as brisket on the grill and then, after 2 to 3 hours, the meat temperature gets to 180 degrees Fahrenheit and then stalls.
The stall also occurs when the water present in the piece of meat spreads on the surface and begins to evaporate: it can be said that the meat is “sweating”, and as it happens on our body, the evaporation of sweat cools the surface.
Generally, the stall occurs between 140 degrees Fahrenheit and 190 degrees Fahrenheit but many factors can influence the temperature at which it appears.
This can be the size of the piece of meat, the quantity of connective tissue present, the use of injections, temperature set in the device, and its possible involuntary fluctuations. In some cases, the stall may not even happen at all.
Slow cooking (or faster, with some precautions) allows notoriously tough cuts of meat to turn into soft and juicy delicacies.
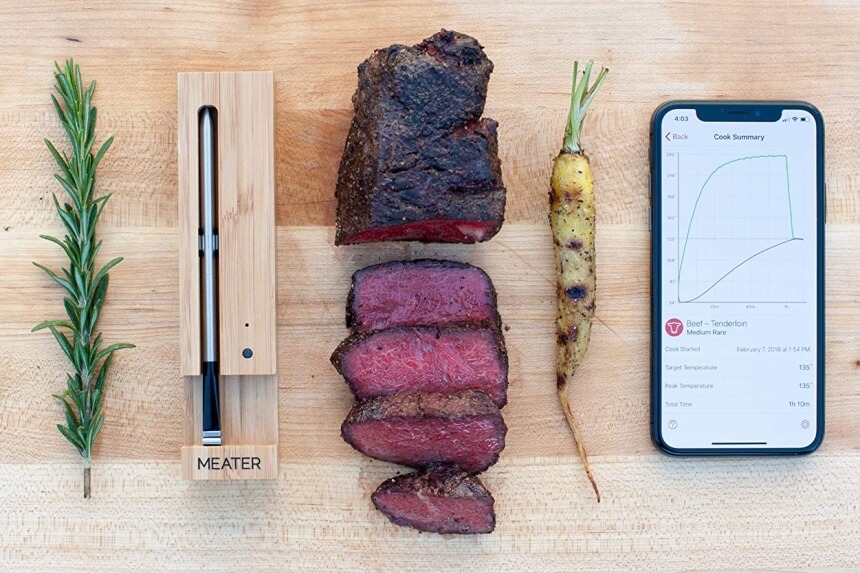
You have to set up the grill and cook the piece of meat, perhaps with a heart thermometer. Then wait for it to reach the required temperature based on the type of cooking you have set. One of the best wireless meat thermometers is the Meater+ Extended Range Wireless Smart Meat Thermometer. You can also find more options of best bluetooth meat thermometers. It is a smart thermometer that comes with Bluetooth and wireless connectivity.
However, it can happen that at a certain point of cooking, especially when very slow (the so-called and typical Low & Slow), the temperature at the heart of your beautiful piece of meat begins to no longer rise.
This phase is what is called “stalling.”
The experienced pitmaster knows that the stall could be eliminated in two ways, namely by waiting or by increasing the temperature.
But how could methods as different as waiting or raising the temperature get you out of the stalemate?
This is why both the wait and the temperature increase were valid methods to overcome the deadlock.
The increase in temperature allows the cold molecules to use much more energy to heat up and evaporate in less time (thus reducing the exposure time to evaporative cooling).
Well, the wait can contribute in another way to eliminating the brisket stall. With this, you can overcome “evaporative cooling” in a simple way, which is by exhaustion of evaporation, through the dehydration of the piece of meat.
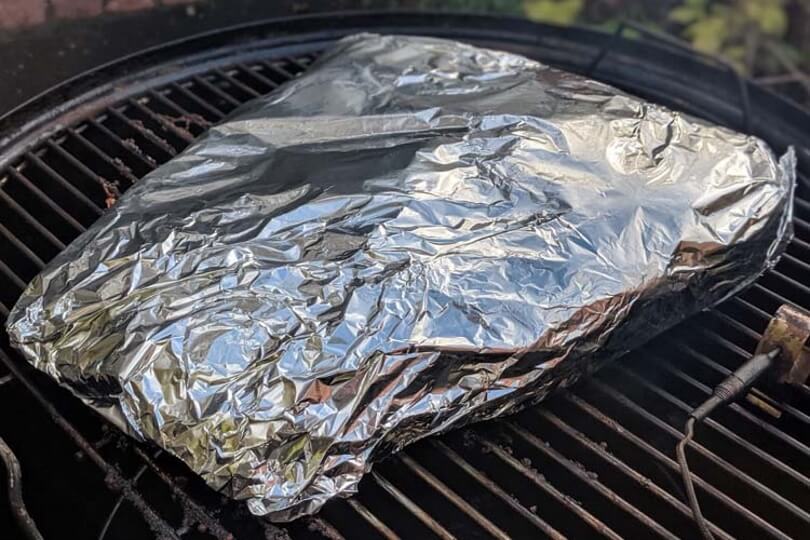
Despite this, it generates mixed comments: It horrifies purists and solves problems for those who know how to use it.
The most typical use of foil in cooking is the one created to prevent stalling. But how does it help?
The foil (or aluminum) is by all accounts the best help you can find to get away from this stalemate.
By rolling your piece of meat into a foil, you prevent the vapor molecules from dispersing and force them to stick to the surface.
By doing so, you will get two results:
The advantage, at this point, seems obvious:
Now, let’s put science, physics, chemistry, research aside, and let’s talk about it among ourselves, as users.
Yes, it’s commonly suggested that the foil can be used to get out of the stall. But it is a waste to use it at 50% of its potential. You don’t have to wait for the meat to stall to use the foil.
The foil is not a mere means to overcome the stall but a real tool that has as its main purpose the protection of the piece of meat, tenderizing it.
Let’s go back to the previous question again. Should you wait for the meat to stall to use the foil?
Well, it’s common sense not to wait until some of the liquids have already evaporated before deciding to make a desion.
Beautiful piece of meat, the beef brisket is made up of two muscles that are on top of each other and connected by fat).
But don’t worry, we’re here to show you all the dos and don’ts so you don’t end up with a bad brisket! Without further ado, here are the commandments of the brisket!
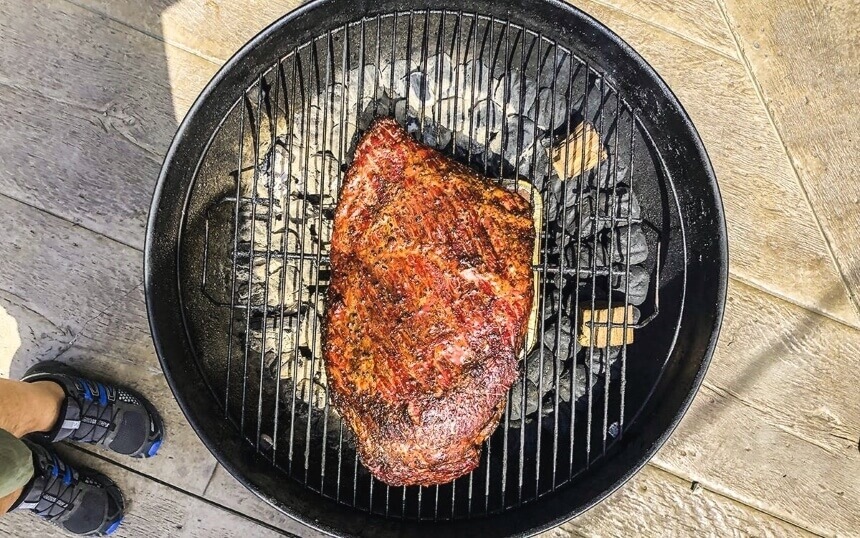
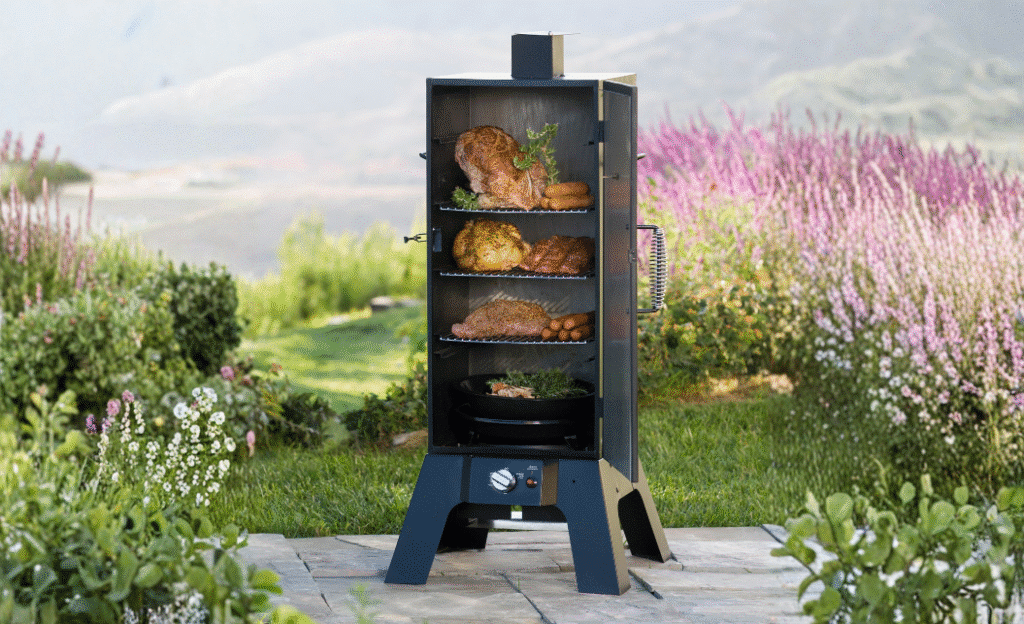
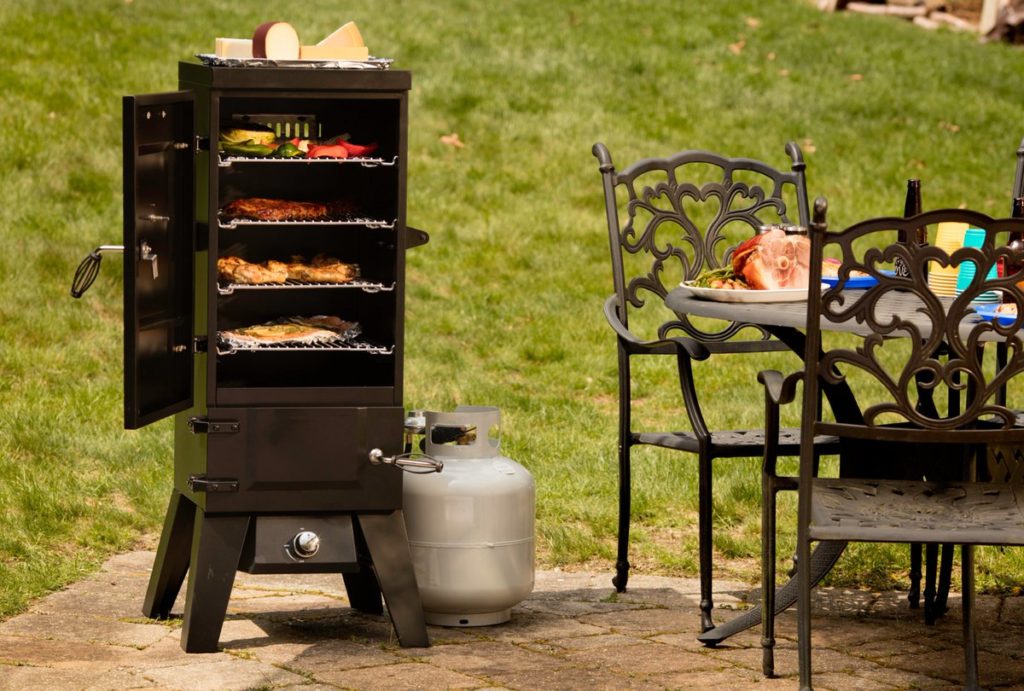
The first step in getting started with cooking beef brisket is to choose a cooking appliance suitable for this piece of meat. Some smokehouses literally aren’t big enough to accommodate it, others aren’t insulated enough and cost a lot of fuel, and then others don’t maintain the temperature, which doesn’t pay homage to this tough piece of meat.
We are a huge fan of wood pellet smokers because they regulate and maintain temperature easily, are generally not very energy-intensive and allow pitmasters to go about their business while their brisket is cooking.
Warning! It also seems that you can cook briskets in the oven or the slow cooker.
The gas BBQ transforms the BBQ into a smoker and creates an air and humidity zone between the burners and the piece of meat. This makes it extremely easy to cook with, especially if two, three, four, five, or even more burners are used.
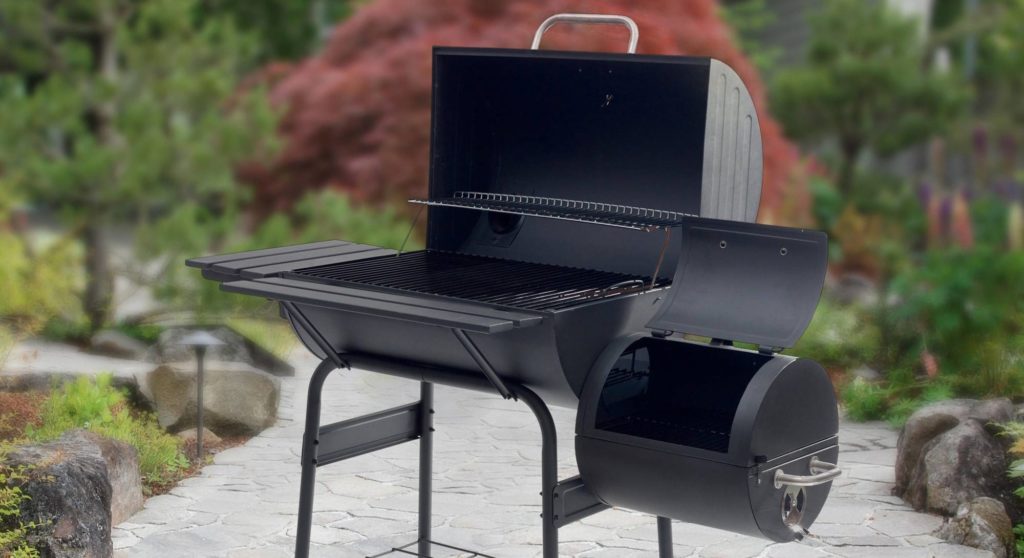
If you have a Kettle-type BBQ, it is possible to cook your brisket on it, it won’t be the easiest cooking of your life. There are also offsets smokers. These traditional smokers made of heavy gauge steel are great for this kind of cooking because they usually have plenty of space and are very easy to use.
Once you get used to controlling them, cooking becomes a snap! This kind of BBQ requires more attention and should be handled by its chef.
Lately, there are also top-made smokers, like Kamado-style BBQs, etc. In the case of this type of smokehouse, you should know on the other hand that the heat coming from their bottom part is generally (almost always guaranteed) more intense than that of their top part. You must therefore adapt your cooking and protect your piece of meat by putting the fat side down to obtain a good result (we will talk about this detail later).
Don’t forget your little grill accessories. According to most reviews, these Grilling Accessories, are one of the most chosen by pitmasters thanks to the product’s low price and durability, is the most reliable option out there.
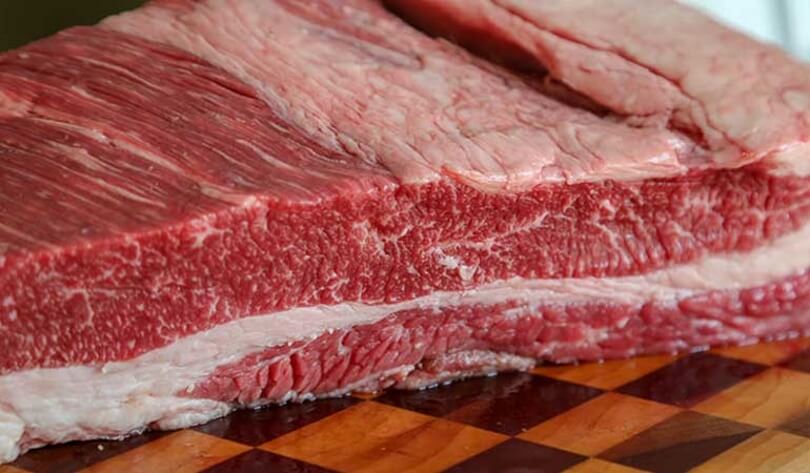
Also, if the muscle fiber of the brisket is “crooked”, be aware that the brisket will twist during cooking. It will probably be just as good, but less sexy! The most important thing in all of this is, all the same, to look at the marbling, the intramuscular fat, of the brisket, because it is this which indicates the quality of the piece of meat. It also differentiates a brisket for children from one for men. Of course, do not look at the underside of the brisket, because you can only see fat. Instead, focus on the flat as well as the ends.
Cut the brisket, separate the two muscles and take care of the trim.
If you are looking to cut down on cooking time, we recommend removing as much surface fat as possible, while leaving about ¼ inch of fat below the piece of meat to protect it during cooking.
It is important to remove the surface fat because otherwise it will melt and take the spices you put on top of your meat to the bottom of the BBQ instead of sticking to the brisket.
When the time comes to inject the brisket, several choices are available to us. Why does it? There are several reasons:
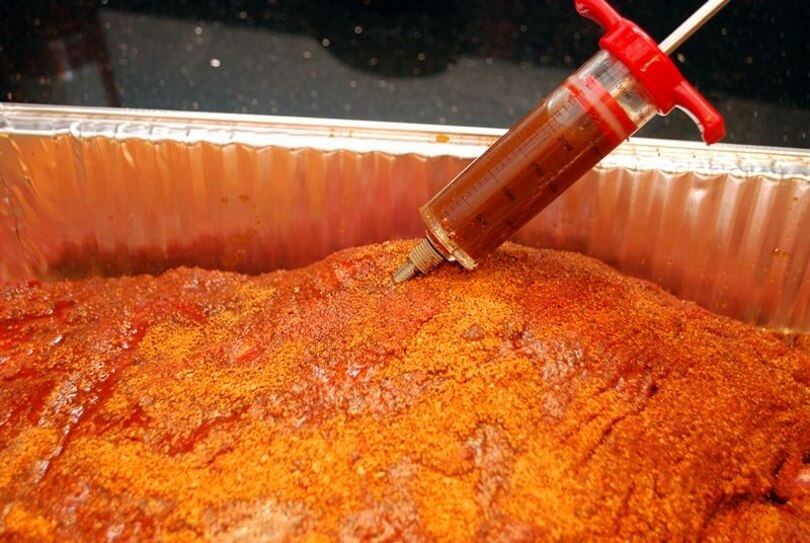
And what do you inject into your brisket? Well, you can simply inject water, but it would taste more water than beef and that is not the effect we are looking for. So it must be injected with, at a minimum, beef broth. To this, you can add soy sauce and Worcestershire sauce to taste for a tastier result.
If you want to flavor your briskets, we recommend using injection powders that are ready to mix and inject. By using these powders, you will increase the flavor and keep more moisture in the brisket while paying homage to it.
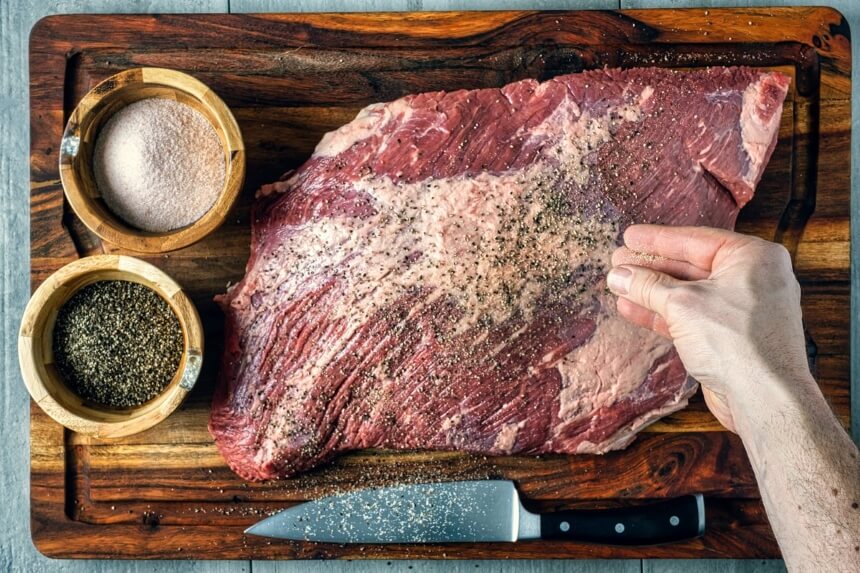
Honestly, the possibilities are endless as to which rubs you can use to season a brisket! You will therefore have to cook several to find the mixture that will melt your heart.
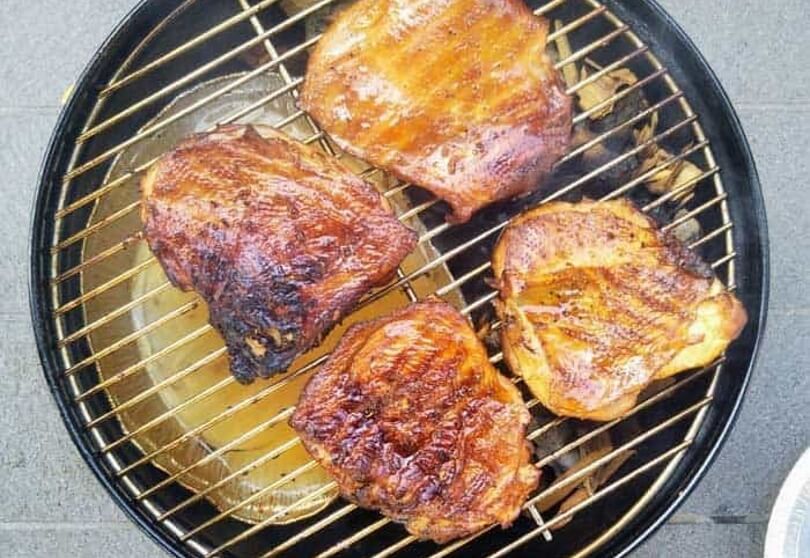
In this regard, if during cooking you encounter a “stall”, during which the piece of meat will stop cooking for one, two, or even three hours, and that its temperature remains. stable.
If this is the case, you can place an aluminum bowl or dish with water inside in your BBQ, between the heat source and the brisket, to increase the humidity inside the device. By doing this, your piece of meat will not become dehydrated during cooking and will absorb more smoke.
Otherwise, with regard to the famous question “Do we cook the brisket with the fat up or down?”, it depends on the smoker that is used. If the heat is coming from under the piece of meat, we recommend putting the fat on the bottom to protect it.
On the other hand, if it is an offset or reverse flow style smokehouse or even a big BBQ in which there is ample space for the heat to come “from the side” and not from below, the fat should be placed upwards to ensure that it flows over the piece of meat as it cooks. Warning! The fat will not magically penetrate the rest of the brisket, but it will help a nice caramelization form on the piece while lubricating it.
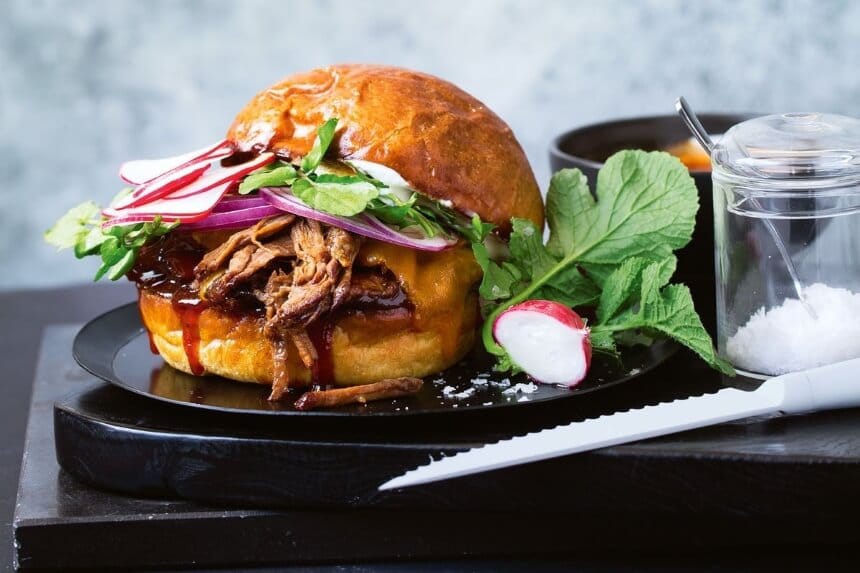
The item that we consider the most important to have with you when doing a brisket is a good thermometer. There are models with wires that you can control remotely. There are others that you can stick in the meat and they give you an instant reading. You can use the one which suits you best; there are plenty of choices.
When the brisket is ready, the thermometer should penetrate it as if it were in soft butter and read approximately 200-205 ° F (internal temperature).
Some products can help cook the brisket, or even save it if it is too dry at the end of cooking! First is the Brisket Mop sauce and the injectors. However, if you are using injectors, it is very important to:
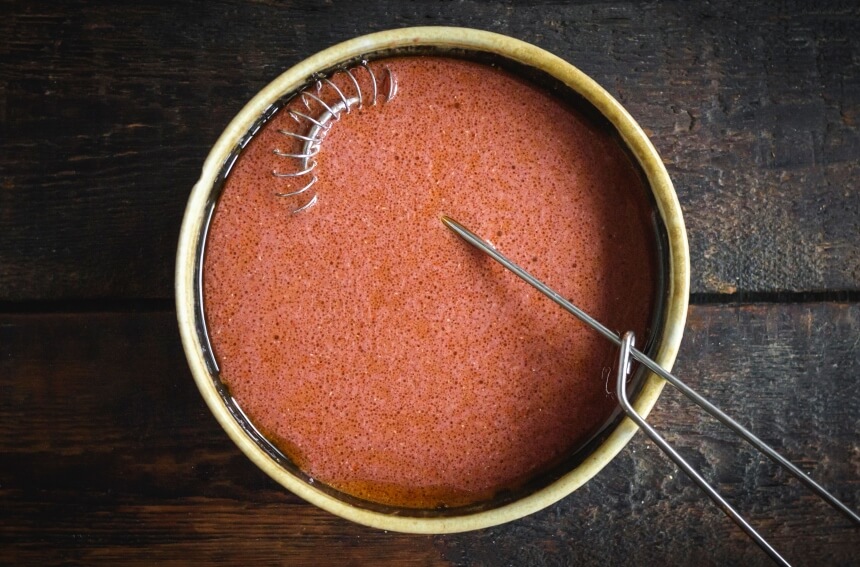
By doing this, the springs in the syringe will work easily and allow trouble-free injection.
Some other accessories also include wood chips, cookbook, charcoal starter, brush, gloves, and more.
According to user reviews, some of the best grilling tools for smoking brisket is this accessory tool product that is sold on BBQ Guys. The accessories have great value for money and the thermometers are accurate.
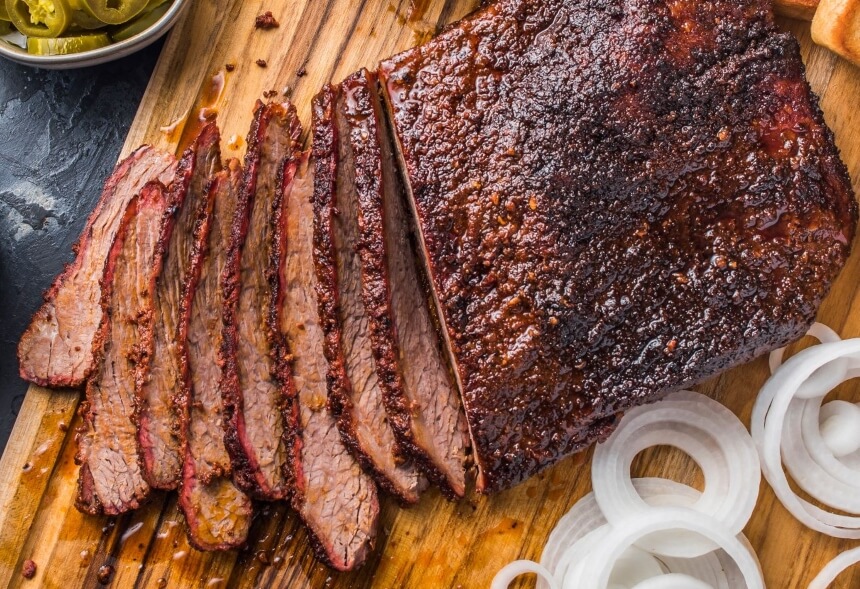
Note that if you have left the meat at an internal temperature of 195-200 ° F and above for more than an hour, you will not need to let it rest; it’s more of a reinvented kind of rest.
To let the meat rest, some people place it inside their oven, or better yet, their cooler (obviously empty) so that it retains as much heat and humidity as possible.
Once the brisket has been rested, it must be cut in the opposite direction to the grain. It’s great to separate the two muscles before cutting them. It allows you to easily slice the flat into smoked meat-style slices and the point into cubes to make the famous burnt ends.
Stalling is the condition in which the internal temperature of the meat stops increasing and stops at a given value for a long time (in some cases it even decreases).
The brisket stall can be overcome by wrapping the brisket in a double layer of aluminum (foil). Aluminum prevents the dispersion of steam and therefore allows greater heat transfer to the meat.
This technique, although very effective for overcoming the problem, has a contraindication: it makes bark not well-formed. The stagnation of steam inside the foil moistens the bark and does not allow it to consolidate.
In summary, the brisket stall has a negative effect on the juiciness of the meat but positive on the formation of the bark.
To overcome this, it is necessary to wrap the dish in aluminum foil. Doing so will take the meat out of the stall but you risk moistening the bark and it ends up not well-formed.
