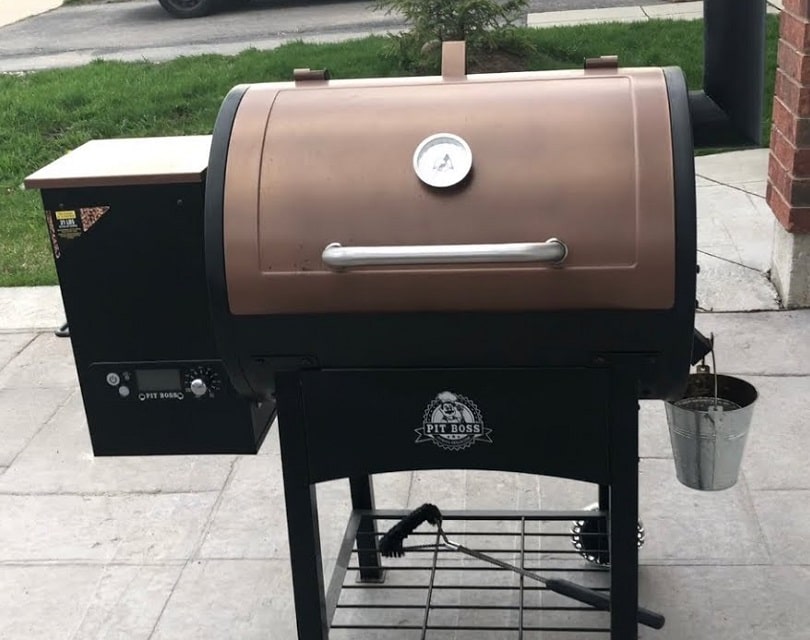

If you are someone that is looking to up their grilling game, then you have probably thought of changing up your grilling situation. Almost everyone has a charcoal grill, or a gas grill, or even a pellet grill, especially if you have a dedicated grilling spot in your backyard. But if you really want to be an aficionado of the grilling world, you might want to try a Santa Maria grill. These grills really good models to make delicious wood-fired meals. The big issue, however, is that buying one can be expensive. Thankfully, if you know how to build a Santa Maria grill, you can put one together yourself and start making great foods.
Of course, building a grill is not a straightforward operation for most folks. But don’t worry! We have taken the time to put together this easy-to-follow guide that will allow you to make a great grill in no time at all!
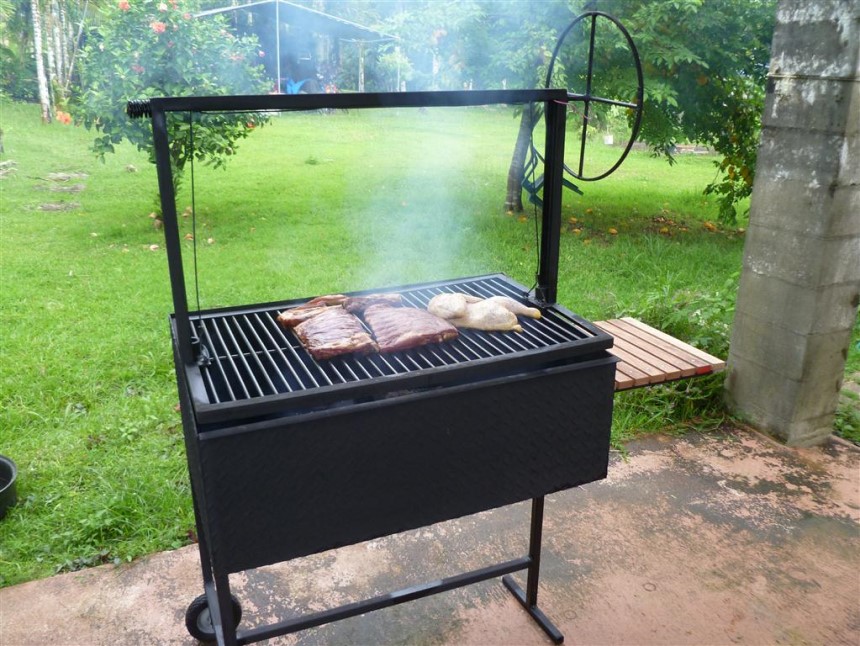
The grill is a relatively basic concept. It can have either three or four walls for the firebox and then consists of a grate that is attached to a pulley system. This system allows the user to raise or lower the grate, which provides excellent temperature control. These grills are wonderful ways to cook meats with low-fat content since they allow you to cook slowly over low heat. This reduces the chance of overcooking your meal.
The amount of time that it will take you to make your grill is going to be largely dependent on how well you know your tools. If you are new to welding, this project could be a bit of a challenge. If you have lots of experience, however, this is a relatively straightforward build.
All things considered, you should probably set aside about a week to fully finish this project if you can work on it for 1-3 hours a day. Obviously, the less time you have each day, the longer it will take you to get the job done.
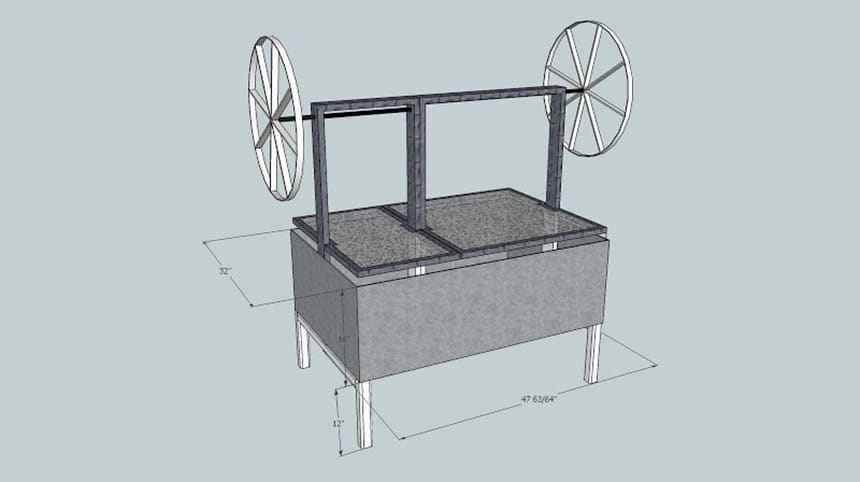
Perhaps the biggest choice that you need to make while you are planning your grill is whether or not you want to have a three-sided model or a four-sided one. There are definite pros and cons for each option, so let’s go through them quickly.
After you have decided on the design and plan for your grill, it is time to get started on the manufacturing process. The first thing that you need to do is to make sure that you measure out all of your pieces as carefully as you can. This process should not be rushed. Make sure that you check and double-check each of your measurements so that the pieces will align properly once they are cut.
After you have measured the sides and supports, you can start cutting them. This can be done with a grinder equipped with a cutting wheel, snips, or a jigsaw with a metal cutting blade. No matter what tool you choose to use, make sure that you have a square handy to make certain that all of your cuts are nice and straight or the sheet metal. For the supports, they need to be cut to length using the same tools.
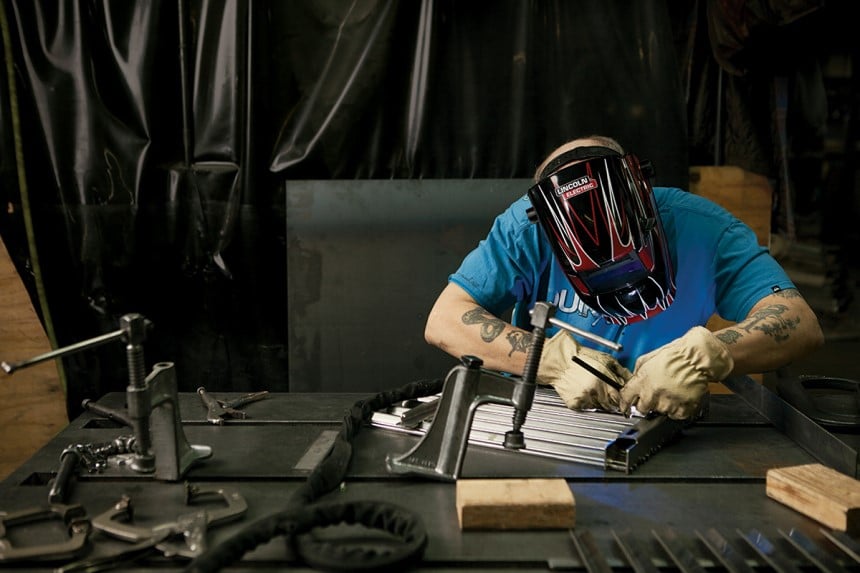
Once you have all of these spot welds completed and the frame/base are connected, you can then weld around all of the sides. You want to make sure that you close any gaps between the metal so that no air can escape from the firebox that you just put together.
After you have the firebox complete, attach pulley supports to the sides, making sure to center them on the ends. The grate should also be put together in the same fashion as the firebox. After you have the sides, place two support bars in the middle and then weld on the steel mesh. You should also attach eye loops to the middle of this grate to attach the chains later.
When it comes to supports for this grill, you have two different options. You can make or buy legs that can be welded onto the bottom of the firebox, or you can place the grill down into the ground. Both designs work well, though having the grill in the ground holds in more heat for hotter fires.
Using legs, however, puts the grill on the correct grilling level, which can really save your back. If you choose to utilize legs, make sure to add angled supports so that the grill is extremely sturdy.
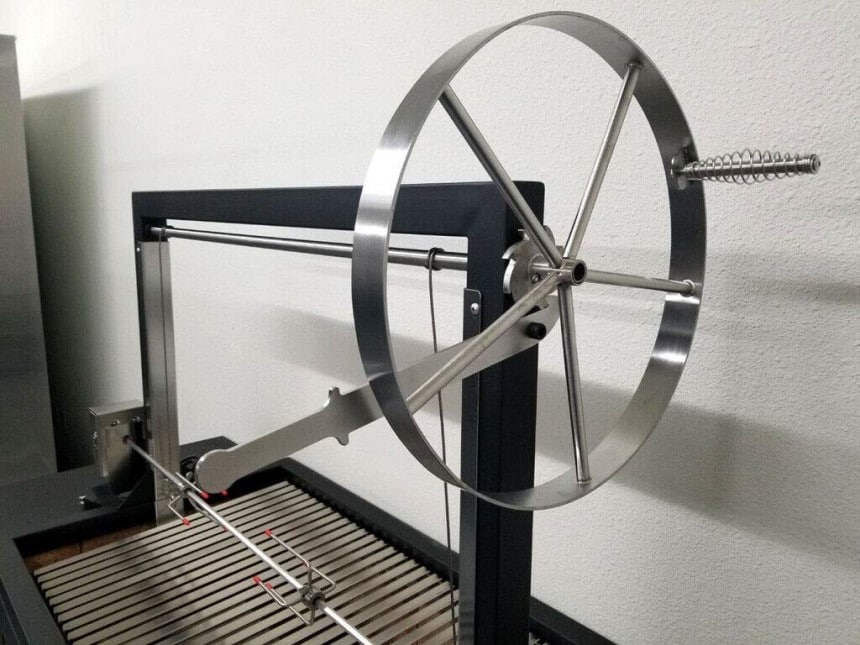
There are quicker ways to build a Santa Maria grill that would also save you a bit of money as well if you don’t want to build the entire thing. One such way would be to create a grate and lowering and raising mechanism that could be used over an already established fire pit. Fire pits are much easier to make than a complete firebox, which makes this a much simpler project. These pits are also a lot cheaper to buy as well.
Something else that you could do if you already have a firepit is to buy a premade grating, like this one from Texsport. You could also go a step further and get something like this from only fire. This model grating works much like a Santa Maria grill but can be used with a kettle grill or fire pit.
Whether you are looking for a new project or you just want to have an amazingly efficient and unique way to cook, a Santa Maria grill is an awesome option. These amazing grills make it very easy to make delicious food even because it is so easy to raise and lower the grating to control the temperature.
Hopefully, you now have a clear understanding of how to build a Santa Maria grill. Just make sure that you take your time and measure everything before you cut it. Also, go nice and slow when it comes to your welds as well, so that your grill is absolutely perfect. That way, you can make delicious meals for years to come.
