
There is nothing quite as tasty as a good bit of smoked cheese. This flavorful meal favorite is a great appetizer, snack, or burger topping. The biggest issue with smoked cheese, however, is its price. Buying presmoked cheese can set you back more than just a few bucks, which is why it is a good idea to know how to smoke cheese for yourself.
Not only will this allow you to create delicious cheeses at a fraction of the cost of buying it from somewhere else, but it will also allow you to make the cheese exactly the way you like it. By using the cold smoking process and the right types of wood, you can easily make fantastic foods that are sure to make your taste buds sing.
 What is cold smoking?
Though not quite as commonplace as hot smoking Trusted Source Smoking (cooking) - Wikipedia Smoking is the process of flavoring, browning, cooking, or preserving food by exposing it to smoke from burning or smoldering material, most often wood. Meat, fish, and lapsang souchong tea are often smoked en.wikipedia.org , cold smoking has been around for a good long time. Whereas hot smoking uses smoke from a fire to cook and dry out food, cold smoking is usually used to dry something out, preserve Trusted Source Smoking | food preservation | Britannica Smoking, in food processing, the exposure of cured meat and fish products to smoke for the purposes of preserving them and increasing their palatability by adding flavour and imparting a rich brown colour. The drying action of the smoke tends to preserve the meat, though many of the chemical www.britannica.com it for later consumption, or to imbue it with a delicious smokey flavor.
Cold smoking, as the name suggests, only uses smoke from a fire, but not the heat. A cold smoker should be kept between 80 and 90 degrees Fahrenheit, making it perfect for use with cheeses. After all, if the temperature is too high, even the hardest style of cheese is going to melt.
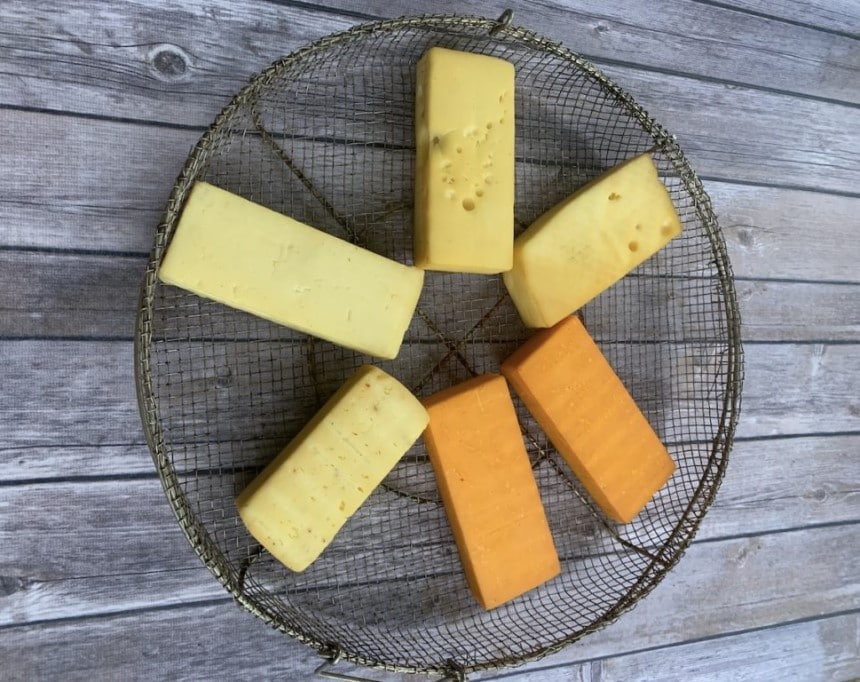
As with anything food-related, the type of cheese that you use for smoking is really up to your personal preferences and tastes. The most popular types of cheese for a home smoker are mozzarella and cheddar. Many other folks enjoy using Monterey Jack and Gouda.
Of course, you can use any cheese that you please, as long as you make it the right size. If the cheese is harder, then you should cut it into smaller pieces so that the smoke has a better chance to permeate its surface. On the other hand, if you choose a softer cheese, then you will want to keep it in larger chunks to prevent it from taking on too much smokey flavor. You will have to experiment a bit to see what the right slice size is for your needs, but we recommend to err on the side of larger pieces when you are first getting started.
This will, again, depend on the consistency of the cheese, how large you have it sliced, and your personal preference for smokiness. The general rule is that you will only need about 2 hours on the grill to imbue the cheese with delicious smokey flavors. Larger chunks and hardier cheeses will need longer than softer ones and smaller pieces.
Once you have actually smoked the cheese, however, you will need to wait quite a bit of time before you can sample any of it. The cheese needs to be placed in a fridge in a vacuum-sealed bag for about two weeks once it is off the grill, so be sure to plan in advance so that you have the cheese you desire when you want it.
Even though buying smoked cheese at the supermarket might make you think that this is an extremely involved process, that couldn’t be farther from the truth. There is not all that much that you need to smoke cheese at home, but the key requirements are:
Now that you know the basics of cold smoking and what you need to get the job done let’s get down to the simple steps you will need to follow to create delicious smoked cheeses at home on a pellet grill like this Traeger model.
You should only try to cold smoke your cheese on a cooler day. Since cheese is so easy to melt, you want every advantage that you can have to keep this from happening. Smoking on a colder day will help to keep the internal temperature of your grill down while you are smoking the cheese. Of course, you can also add a tray of ice to help keep it cooler as well.
You need to make sure that you choose the proper wood for the type of cheese that you are using. If the cheese has a sharper flavor, then you want to try and use a milder wood, like cherry or apple. If you are using a milder cheese, then you can go with stronger flavored wood, like hickory or mesquite. Of course, this is all up to your personal preference, so don’t be afraid to experiment a bit.
Since you want to try to keep the cheese from melting at all, you should put it in the freezer for a few hours before you place it on the grill. This will help to prevent it from melting since it will already be so cold. You should still watch your temperature carefully, however, to make sure that it never gets above 90 degrees Fahrenheit.
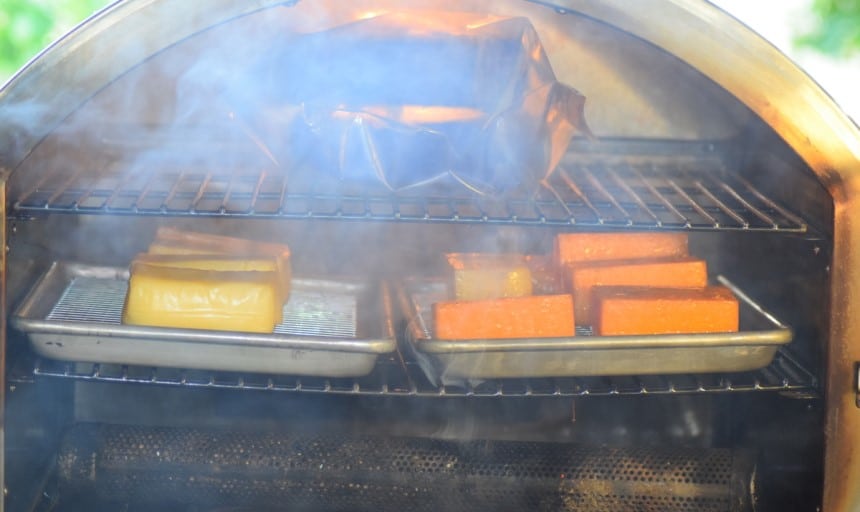
Once you have your cheese ready to smoke, you need to set up the grill/smoker to start the smoking process. You want to make sure that you are not lighting a large fire as you would when you are grilling. Instead, you want the wood/pellets to smolder and produce a lot of smoke. This preheating process should only take about 15 minutes.
After the smoker has reached the desired temperature, you need to place the cheese on the grill. Depending on the type of grates you have, you might want to put down some aluminum foil to prevent the cheese from slipping through. After that, carefully monitor the temperature on the grill so that it doesn’t climb too high or dip too low. Again, you want to keep it between 80 and 90 degrees.
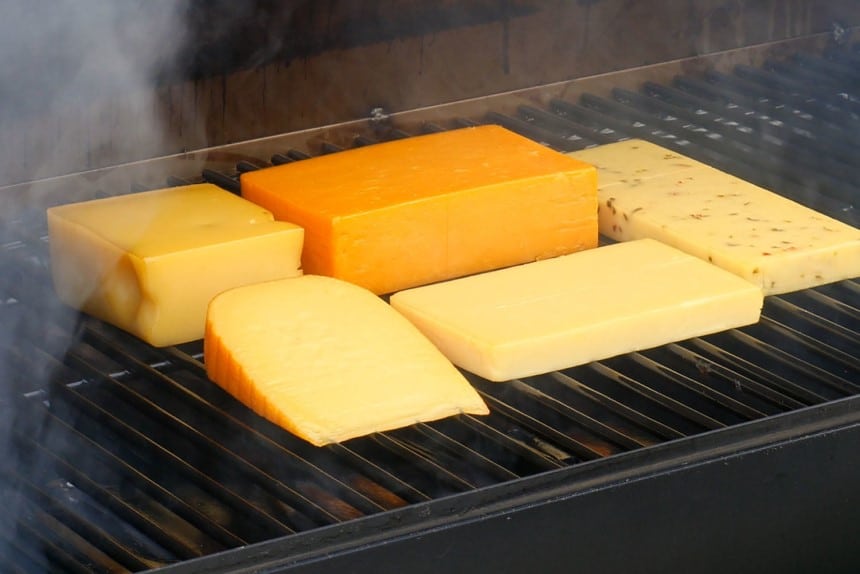 7. Turn cheese over every 30 minutes
Every thirty minutes, you need to turn the cheese. This will allow the smoke to reach each and every surface of the cheese for a fuller and more pronounced smokey flavor. Since you are going to be smoking the cheese for 2 hours, this means that each side of the blocks will get a chance to be down on the grates.
Once the cheese has been on the grill for 2 hours, you need to carefully remove it from the grill. Even though the grill never got too terribly warm, still handle the cheese with care. No one wants to be burned while they are cold smoking food, after all!
When you have all of the cheese off of the grill, use the parchment paper, and wrap it up tightly. Try to make sure that every part of the cheese is completely covered so that it doesn’t have a chance to lose its smokey flavor. After you have, it wrapped up, place the cheese in the fridge for 24 hours wrapped in the paper.
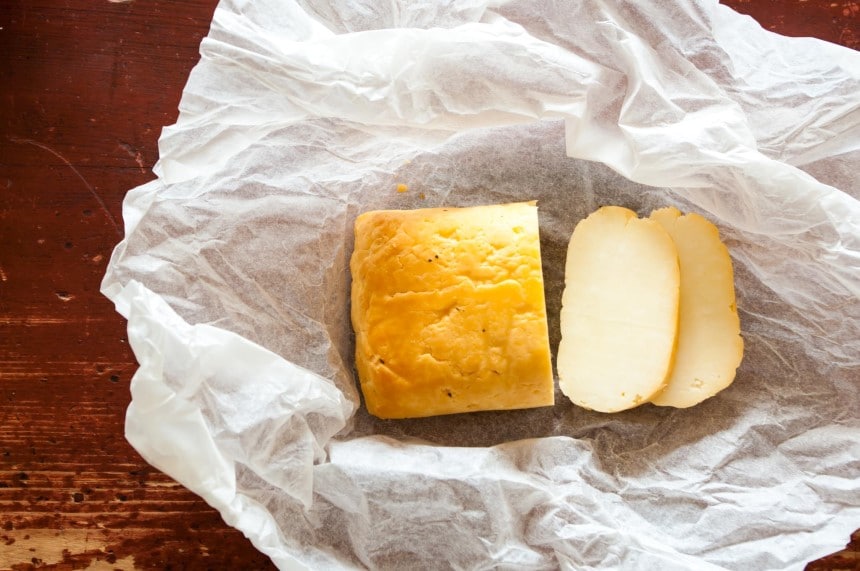 10. Put it in a vacuum-sealed bag and leave in the fridge for 1-2 weeks
The final step in cold smoking your gouda, cheddar, or pepper jack cheese is to vacuum seal it and leave it in the fridge for about two weeks. If you don’t have a vacuum sealer, then you can use standard zipper bags. You just need to make sure that you remove as much air as possible so that the smoke that is on the outside of the cheese has a chance to soak into the interior rather than dissipating into the air. After this time period, you can eat the cheese!
When using an electric smoker, you can follow almost the same steps that you would for grill style model. The big difference is that you have less control over the heating element in an electric smoker than you do in a fuel-based one. To combat this, fill a tray with ice cubes and put it on a grate covered with aluminum foil on the lowest possible slot in the smoker. The cheese should be put on a grate at the highest point. This should help to keep the smoker’s interior from getting too warm and melting the cheese while it is smoking.
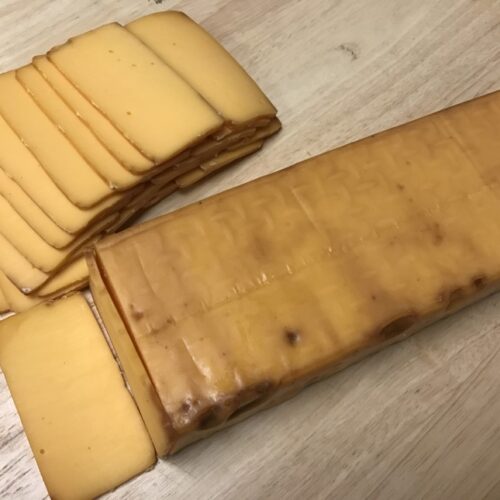
Cold smoking is an old method that folks have used for years to give foods a delicious smokey flavor. Not only can this make delightful food, but knowing how to smoke cheese at home is a great money saver too. Smoked cheese is extremely expensive, so doing it yourself can save you a good bit of money.
You just need to make sure that you use a low temperature when you are smoking the cheese and be prepared for a long process. Smoking might only take two hours, but the cheese then needs to sit in vacuum-sealed bags for at least two weeks before it can be enjoyed. It is completely worth it, however, since smoked cheese is delectable!
