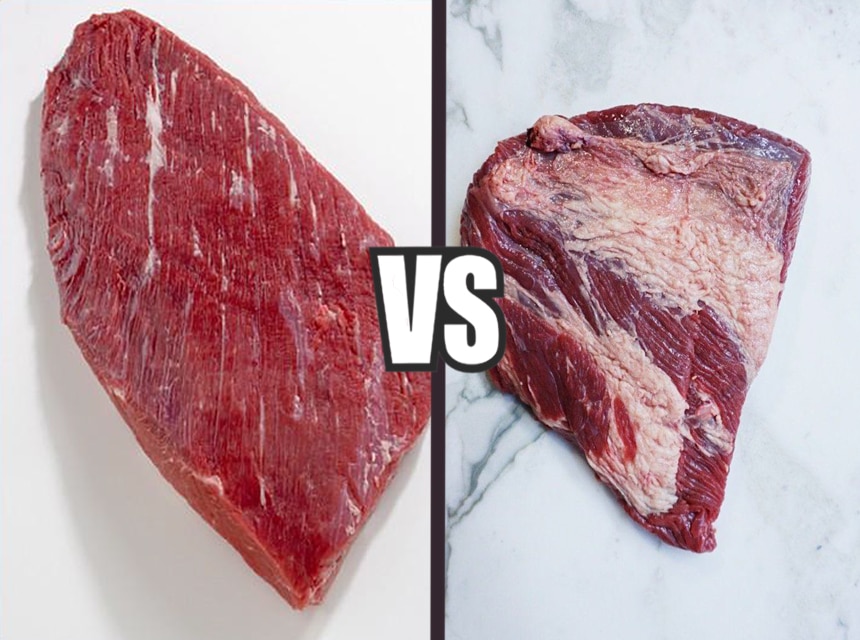
A brisket cut is a popular part of the cow, and prepared correctly it can create a beautiful meal, that will leave no person indifferent. In this guide, we’ll give step-by-step instructions on how to trim a brisket for smoking or grilling.
A grilling enthusiast will know that attention to detail plays a huge part in creating beautiful food, and this is also true with beef brisket. This means choosing the right cut of meat to start with, preparing the meat, and then using a smoker to create a beautiful and tender beef brisket. It doesn’t matter how good your smoking technique is or the flavors you use, trimming and preparing it incorrectly can lead to tough, chewy beef rather than succulent, melt-in-the-mouth flavors.
Before you even think about prep, you need to choose a brisket in the supermarket or at your local butchery. A brisket, cut from the lower chest Trusted Source Brisket - Wikipedia en.wikipedia.org , should be big enough to serve all of your guests and handle the heat you’re going to pump through it. It also shouldn’t be too big for your smoker or BBQ. Somewhere between 14 and 18 lbs is a good starting point.
As an indicator of quality, you should look for something that has a good level of marbling, meaning there is some decent fat running through it. Butchers know that people can be fussy about their meat selection, and rightly so. This is one of the most vital steps in getting the flavor profile you are looking for.
So, what accessories do you need? Part of learning how to trim a whole brisket is learning how to choose the right equipment. A proper butcher block should be your starting point so that you don’t ruin other surfaces, and that you can handle the heavy cutting of a quality knife.
Not only do you need a proper butcher’s knife, you need to keep it sharp. You can do this with honing steel, and some models, models of knife like the KYOKU Daimyo Series come with a honing steel included.
You’ll also need a bowl for your offcuts, as not all of the brisket will be used. A lot of the fat is cut away otherwise you would end up with a brisket that was too chewy or even had a tough rind. You want a soft brisket with just the right level of fat to soften without causing you to eat mouthfuls of nasty fat.
You’ve got your brisket, you’ve set up your equipment, and you’ve taken a deep breath ready to delve in. The next step is trimming the brisket itself. We’ve created a step-by-step guide below to help you to understand exactly how you can do this in a stress-free way. You don’t want to ruin a pretty expensive chunk of meat.
 Step 1
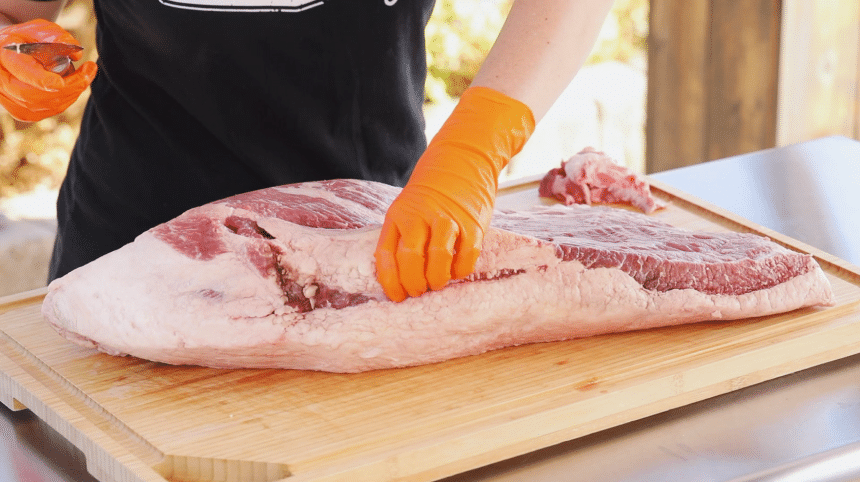
Rinse the meat and choose your knife. You need a longer knife, which is high-quality. You can choose from a range of excellent knives available to the everyday consumer. Using a product like the Green Elephant Ceramic Sharpening Rod or your honing sheet, give it a quick sharpen before you prep your brisket.
Plan your cuts. Understand the piece of meat and plan the parts that need to trim away. The denser fat that resembles leather never melts or becomes part of a delicious cut, it will just be a big hunk of fat for you to eat. These need to be trimmed.
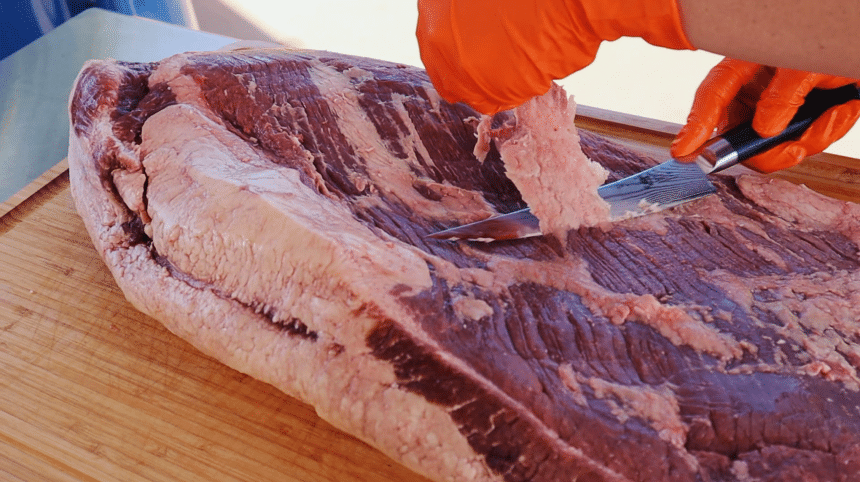
In as few cuts as possible, trim the large piece of fat. This will be coating one side of the brisket meat, and though it is frustrating to waste it, you want to remove most of it with your boning knife. Hold the fat you cut with your left hand while you simultaneously continue to carve the rest away with the right hand. There’s an art to this.
Trim away any remaining large parts of fat. A little is fine, but you don’t want so much in there that you lose the flavor. Rubs won’t penetrate deeply into really fatty pieces of meat. Continuing to work the “fat cap”, get rid of any areas that your larger cuts didn’t see to. Those white chunks of fat can be tossed into a bowl.
Flip to the meatier side, and repeat. There will likely still be some fatty sections on there, and you want to keep it nice and tight to the meat so that the fat can render and impart flavor, but not prevent the rub and seasoning from getting in.
 Step 6
Remove the point end fat. Once the surface fat has gone, you’ll notice there is a big chunk of fat that normally separates the point and flat. It’s at the point end of the cut of meat, and you should try to get rid of as much as you can. The wider section of a boning knife he;ps you to remove the majority of it.
Trim the edges. You should try to square up the meat. Don’t remove loads, just trim a long and thin part of each side to give a uniform look and feel. Start slowly, you don’t want to remove loads of the meat. Trim the ends that might burn, too. You can still cook these if you want, but they should be done separately.
Time for a final trim and seasoning. If there are any remaining fatty parts you might want to trim them down. You can then use your beautiful, meaty brisket as a canvas for your flavors. A brisket rub will work beautifully, and make sure you cook low and slow for the best results.
The process of how to trim a whole brisket for smoking is pretty much the same as the above. Most people choose to slowly cook the brisket anyway.
The only difference when trimming a brisket for smoking is that you can be a tiny bit more liberal with the fat and potentially the ends that will burn. You might leave these on, and you may choose to leave a bit more fat that will render down. Don’t go overboard, lots of fat and you won’t get the render and you will end up with a nasty, chewy section.
We offer you to watch the following video for juiciest smoked brisket everyone will love:
As time goes on, you’ll establish your own methods of doing everything BBQ and smoking related. Learning your own little quirks is a big part of the fun of getting good at smoking and grilling. Knowing how to trim a brisket is an essential skill that you will take with you into the future and wow all of your friends at your latest BBQ. Cut it well, and the fat will render and leave you with a beautiful flavor profile. Cut your meat badly and it will end up chewy, and the flavors and spices you add simply won’t penetrate into the meat. You can see how vital it is to learn this simple piece of butchery skill.
