
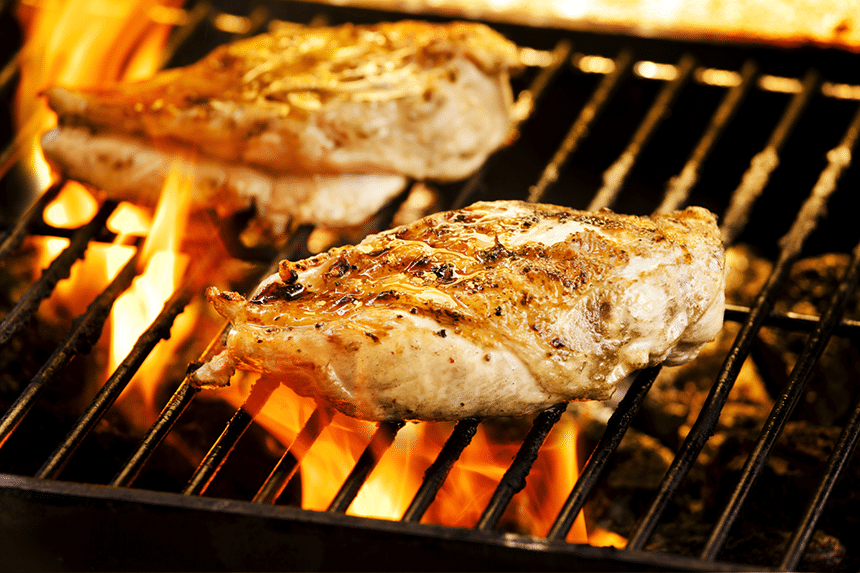
There is nothing quite as delicious as chicken hot off the grill, no matter if you use propane or natural gas. That is, of course, unless you prefer oven-roasted chicken instead. Why not have the best of both worlds and enjoy a meal of reverse sear chicken breast? It helps to lock in the juices that come with an oven-roasted bird while providing the crisper exterior of a chicken roasted on the grill.
Reverse searing a chicken breast is not a terribly difficult process, though it does take some practice to get correct. Unlike beef, which has tons of fat, chicken is relatively lean, which means you need to cook it very carefully so that it doesn’t dry out. But don’t worry! Our tutorial will show you how to perfect this cooking method so that you have mouthwatering meals whenever you want.
As the name would imply, reverse searing Trusted Source Searing - Wikipedia In reverse searing, the order of cooking is inverted. First the item to be cooked, typically a steak, is cooked at low heat until the center reaches desired temperature; then the outside is cooked with high temperature to achieve the Maillard reaction. en.wikipedia.org is just that, searing in reverse. Generally speaking, whenever you are cooking something on the grill, you usually sear it first. This involves cooking the meat at high temperatures on both sides for a short amount of time. From there, you simply reduce the heat and finish cooking the chicken or whatever type of meat you are cooking.
With reverse searing, you instead wait until the end of the cooking process to sear the meat. In fact, you also don’t do all of the cooking on the grill during this process. You first need to start the chicken in the oven until it is almost completely done. Once the chicken is just about done, you switch it to the grill to sear it on both sides. Afterward, the chicken needs to sit for a few minutes before it can be enjoyed.
 How it benefits chicken taste?
As we mentioned above, chicken can be somewhat difficult to cook because it is so lean. Unlike beef, which has lots of fat, chicken is not so fortunate. In that way, reverse searing is perhaps the perfect method for cooking chicken. This style of cooking is hugely beneficial for the chicken in the following ways:
Now that you know just how useful this cooking method is, let’s take the time to go through the process so that you can easily make it one of your preferred cooking methods. While you might need a bit of practice to get the hang of reverse searing chicken breasts, once you master it, you’ll never want to cook chicken in any other way.
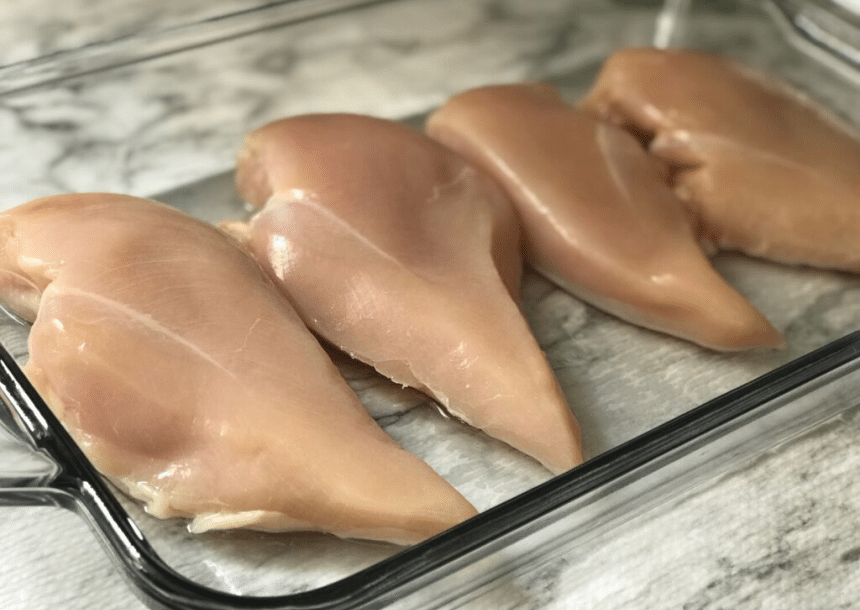
The next thing that you want to do when you are reverse searing chicken breasts is to allow the meat to get up to room temperature. Even if you don’t want to leave the chicken out for a long time to get up to room temperature, you need to at least wait until all of the chicken is the same temperature. This will help the chicken to cook evenly since there won’t be any hot or cold spots to deal with.
Once your chicken is sliced and warmed up a bit, you can now season it. To properly season your chicken for reverse searing, you simply need to add your favorite spices so that you get the taste you desire. An easy recipe is to baste the chicken in butter and then add a bit of salt and pepper. Of course, you can add pretty much anything that you like, so don’t be afraid to get creative!
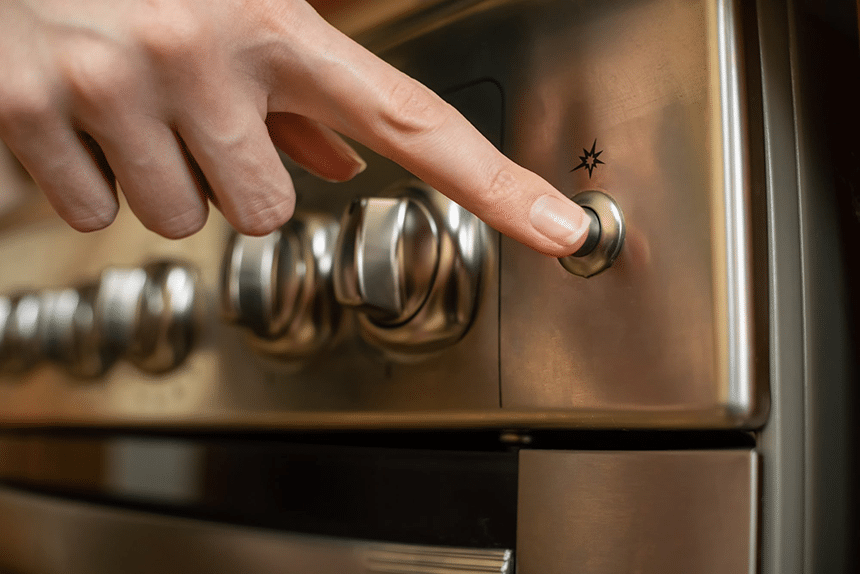
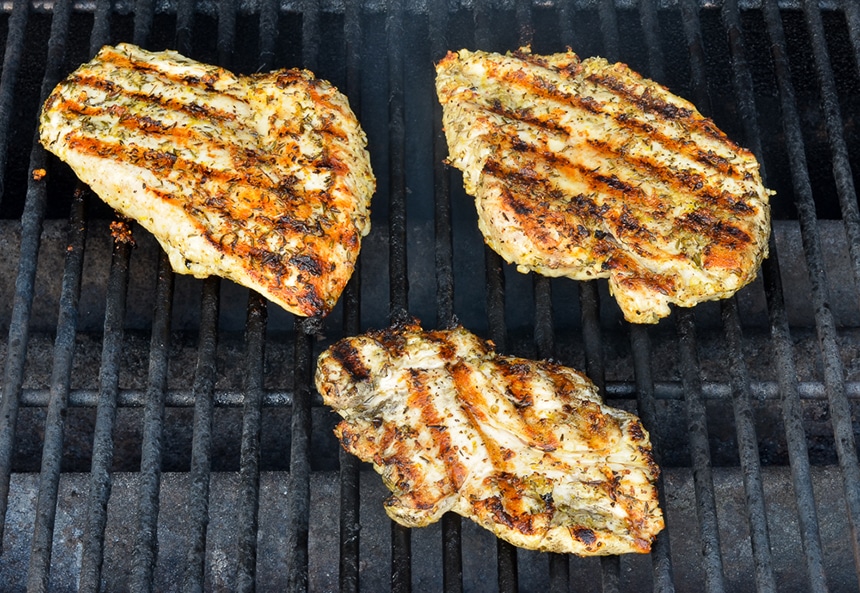
If you don’t have an oven, you can use the grill only, but follow these instructions precisely to not overdo the meat:
While many people think of steak when they hear reverse searing, it can easily be extended to chicken as well. Since chicken, such a lean meat, this style of cooking keeps it from drying out too much while also leaving it tender on the inside and crispy on the outside.
Knowing how to properly reverse sear chicken breast will allow you to create absolutely delightful meals for your friends and family. They are sure to ask for seconds anytime it is on the menu, as long as you follow the steps we laid out above. You need to make sure to carefully slice the chicken, pre-warm, and season it so that you can then properly cook it in both your oven and on the grill. Happy cooking!
